Creating stunning eCommerce photos is crucial for capturing the attention of potential customers and conveying the quality and appeal of your products. Good lighting is one of the most important elements of professional product photography, as it enhances the details, textures, and colors, helping customers make informed purchase decisions. Whether you’re shooting apparel, accessories, or other products, mastering lighting techniques will elevate your visuals. Here’s a guide to the top lighting techniques for creating striking eCommerce photos.
1. Understanding Lighting Basics for Photography
Before diving into specific lighting techniques, it’s essential to understand the basics of lighting in photography. Light is either direct or diffused, and it plays a pivotal role in how your products will appear in photos.
- Direct Light: This is hard, focused light that creates sharp shadows. While it can add drama, it’s often too harsh for most eCommerce product shots, as it can obscure details.
- Diffused Light: Soft, spread-out light reduces shadows and creates a more even illumination. Diffused light is ideal for eCommerce photos, as it ensures your products look well-lit without harsh contrasts.
The two most common types of light used in photography are natural light and artificial light. Both have their strengths and limitations, but the key is knowing how to use them effectively

2. Using Natural Light to Create a Clean, Soft Look
Natural light is often considered the best light source for eCommerce photography, especially when shooting products that need a fresh, clean, and natural look. Windows are your best friend when it comes to natural lighting.
How to Use Natural Light:
- Positioning Your Product: Set your product near a window with plenty of natural daylight. Avoid direct sunlight, as it can create unwanted harsh shadows. Instead, look for indirect light, which provides a softer, more balanced illumination.
- Use Reflectors: If the light coming from the window is one-sided, reflect it back onto the other side of your product using a reflector. You can use a white foam board, a piece of white cloth, or even a dedicated reflector to bounce light back onto the subject, eliminating harsh shadows.
- Shoot During Golden Hour: If possible, try shooting during the golden hour—the time just after sunrise or just before sunset. This provides a warm, flattering glow, ideal for creating a soft and inviting image.
3. Artificial Lighting for Consistency and Control
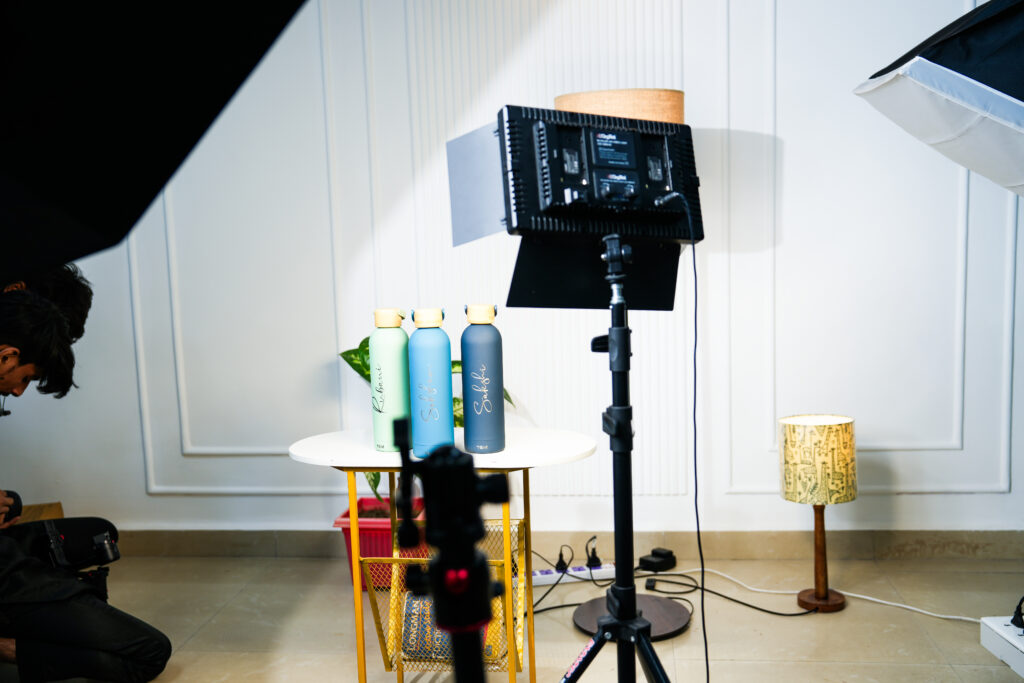
While natural light can be beautiful, it can also be unpredictable. For consistent results, especially when shooting at night or in a studio setting, artificial lighting is a reliable option. The most common artificial lights used in product photography are softboxes, LED panels, and ring lights.
Softboxes and Umbrellas:
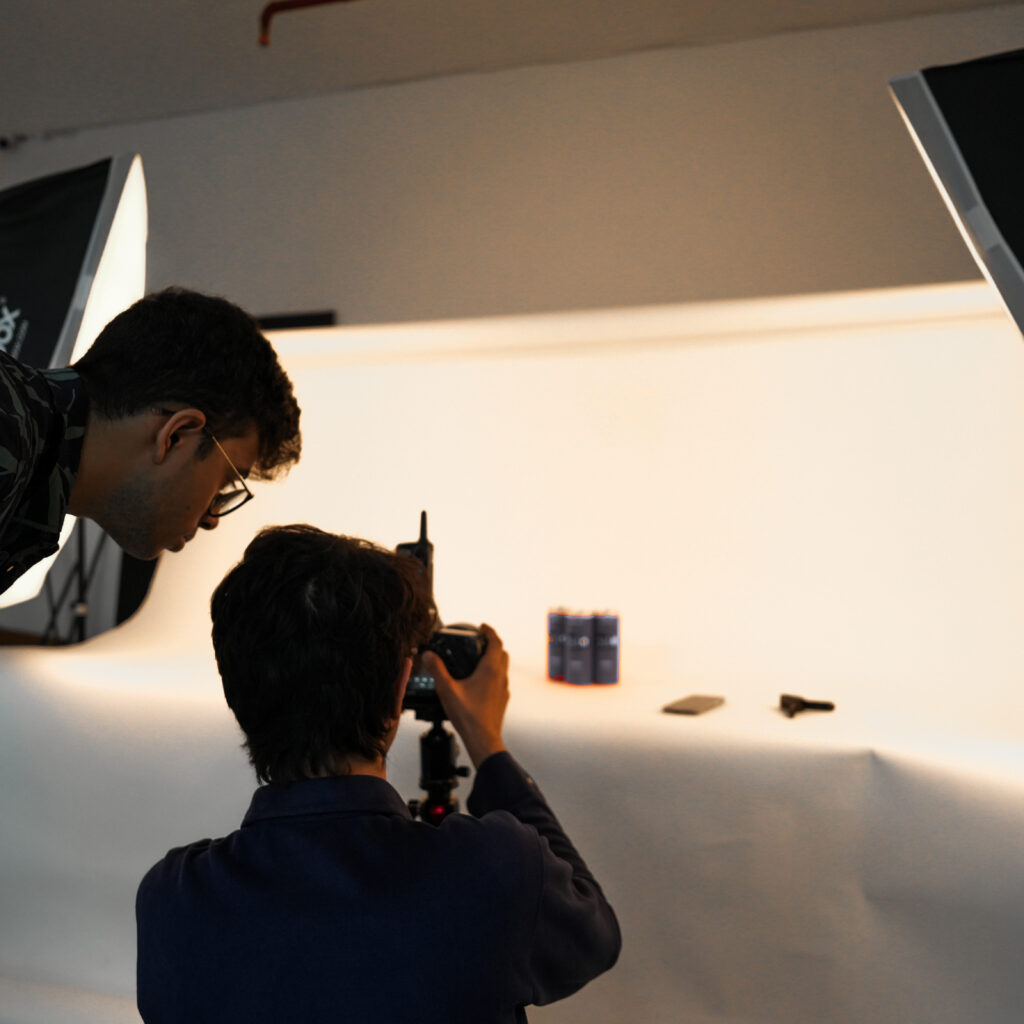
- Softboxes: Softboxes provide diffused light that’s perfect for product photography. They are excellent at softening harsh shadows and ensuring the light is spread evenly over the product. Softboxes come in various sizes, and larger softboxes are great for larger products, while smaller ones work well for smaller items like jewelry or accessories.
- Umbrella Lighting: Umbrellas are a cost-effective alternative to softboxes. A reflective umbrella bounces the light toward the product, creating a soft and even spread of light. White umbrellas give a soft, diffused light, while silver umbrellas create a bit more contrast and sharper shadows.
LED Panels and Continuous Lighting:

LED panels and continuous lights provide a steady, non-flickering light source. The advantage of continuous lighting is that it allows you to see exactly how the light interacts with your product before you take a shot, making it easier to control your setup.
- Adjustable Color Temperature: Many LED panels have adjustable color temperature, allowing you to create warmer or cooler tones depending on the look you’re going for.
- Directional Lighting: Use LED panels to achieve directional lighting. Position them at a 45-degree angle from the product to highlight textures and shapes, such as the drape of fabric or the contours of a product.
4. Key, Fill, and Backlighting Techniques
Professional product photographers often use a combination of different light sources to create balanced, dynamic images. Understanding the principles of key lighting, fill lighting, and backlighting can take your product shots to the next level.
Key Light: The key light is the primary light source in a photo. It’s the most powerful light, positioned at a 50-degree angle from the product to create depth and dimension. This light should be your strongest, but not so harsh that it creates overly dramatic shadows.
Fill Light: The fill light is used to soften the shadows created by the key light. It’s generally less intense and is placed opposite the key light to fill in the darker areas. This can be done with a smaller light source or a reflector.
Backlighting: Backlighting involves placing the light source behind the product to create a halo effect. This technique works wonders for translucent or semi-transparent items like bottles or glasses. Backlighting can also help to create a more dramatic silhouette, which is perfect for showcasing the shape of a product.

5. Using Light Modifiers to Control Light
Light modifiers like softboxes, grids, gels, and diffusers help shape and control how light interacts with your product. Here’s a rundown of the most common light modifiers:
- Diffusers: A diffuser softens the light, making it less harsh and reducing shadows. They can be attached to softboxes or used independently to soften the light from a direct source, ensuring the product is evenly lit.
- Reflectors: Reflectors bounce light back onto the subject, filling in shadows and ensuring a balanced exposure. Gold reflectors add warmth, while silver reflectors increase contrast and create a more polished, high-end look.
- Gels: Colored gels are used to adjust the color temperature of your lights. For instance, if your lighting setup gives off a cooler tone, you can use a warm gel to balance it out. Gels can also be used for creative effects.
6. Lighting for Different Product Types
Different products often require different lighting setups to showcase their best features. Here’s how to approach lighting for specific categories:
Clothing and Apparel:
For apparel, soft, diffused light is key. Softboxes are ideal for even illumination, ensuring that the fabric texture, colors, and details are clearly visible. You can also use a small key light to accentuate the folds and textures of the fabric.
Jewelry:
When photographing jewelry, lighting is all about showcasing the shine and sparkle. Use a softbox or ring light to create a soft, even light across the piece, and make sure there’s a slight highlight to enhance its reflective surfaces. Use a light tent for small items to create a clean, professional backdrop.
Glass and Reflective Objects:
Products like glassware or electronics that have reflective surfaces require strategic lighting to avoid harsh reflections. Consider using backlighting or side lighting at a lower angle to minimize reflections and create a clean image. A polarizing filter on your camera lens can also help reduce unwanted reflections.

7. The Importance of White Balance
White balance ensures that the colors in your photo look natural. If the white balance is off, your product may appear with unnatural color tones—such as blue or yellow hues—making it harder for customers to accurately judge the product.
- Set the white balance on your camera to match the type of light you’re using (e.g., daylight, tungsten, or fluorescent).
- If you’re shooting in RAW, you can adjust the white balance during post-production.
8. Final Touches: Post-Processing for eCommerce Photos
Once you’ve mastered lighting, post-processing is the final step in perfecting your eCommerce photos. In programs like Adobe Lightroom or Photoshop, you can adjust exposure, contrast, sharpness, and color balance to further enhance the image.
- Enhance Brightness and Contrast: Increase brightness and contrast slightly to make your product pop without overexposing or losing details.
- White Backgrounds: If you want a pure white background (which is common in eCommerce), you can use the adjustment brush or clone tool to make the background perfectly white while keeping your product detailed and well-lit.
9. A Lighting-Ready Space for Stunning Photos
For those looking to create professional-grade eCommerce images without investing in a full studio setup, The Yellow Chip Studio offers an ideal solution. Located in Noida Sector 62, this photography studio is equipped with all the lighting and equipment needed to create beautiful product shots. Whether you need soft, diffused lighting for apparel or sharp lighting for accessories, TYC Studio offers the perfect environment for product photography.
Additionally, The Yellow Chip Studio provides rental services, making it an accessible option for entrepreneurs, small businesses, and photographers who need high-quality gear without the investment. Whether you’re looking to shoot in a controlled environment or need extra lighting equipment, The Yellow Chip Studio has you covered.
10. Conclusion
Great lighting is the foundation of stunning eCommerce photos. Whether you’re using natural light, artificial lighting, or a combination of both, the key is to experiment and find what works best for your products. Mastering key, fill, and backlighting, utilizing light modifiers, and fine-tuning with post-processing can ensure that your product images are eye-catching, professional, and ready to convert visitors into customers.
As you refine your lighting setup, remember that consistency is crucial. Well-lit product photos will not only help boost your eCommerce sales but will also enhance the overall branding of your online store. So, start playing with different lighting techniques today, and watch your product photography shine!
