Beverage photography is more than just clicking a picture of your drink—it’s about telling a story, evoking a feeling, and capturing the essence of a moment. Whether you’re a professional photographer, a brand looking to improve product shots, or simply a beverage enthusiast sharing your love for drinks on social media, elevating your beverage photography can make a huge difference in how your photos are received. The right techniques can help showcase the colors, textures, and emotions associated with the beverage, making it irresistible to the viewer. Here are 10 tips to help you take your beverage photography to the next level.
1. Understand Lighting and Its Impact on Mood
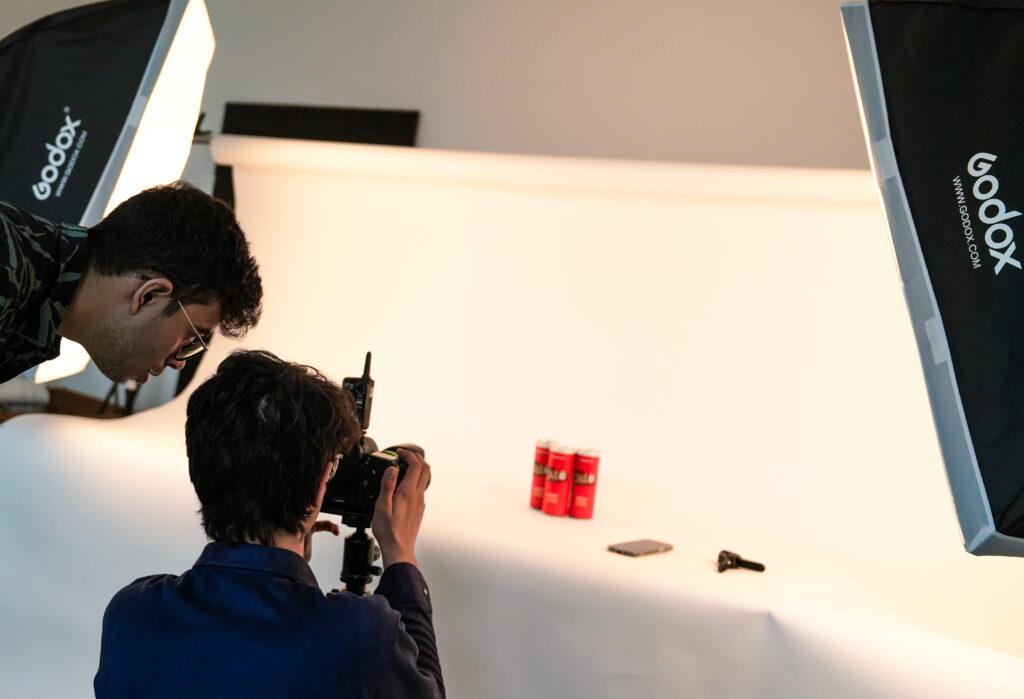
Lighting is the most critical aspect of any photography. For beverage photography, the lighting can dramatically change the mood and texture of your drink. The best way to light your beverage shot is using natural light, as it enhances the drink’s colors and texture. Soft, diffused light, such as light coming through a window on a cloudy day, can create a clean and airy feel, which is ideal for cocktails or fresh juices.
For more dramatic shots, you can use artificial light. Position your light source at an angle to the beverage to create highlights and shadows, emphasizing the drink’s features. However, be cautious of overly harsh lighting, which can lead to reflections or unflattering highlights, especially with glassware.
Pro Tip: Use a reflector to bounce light back onto the drink to reduce shadows and create a soft glow.
2. Focus on the Details
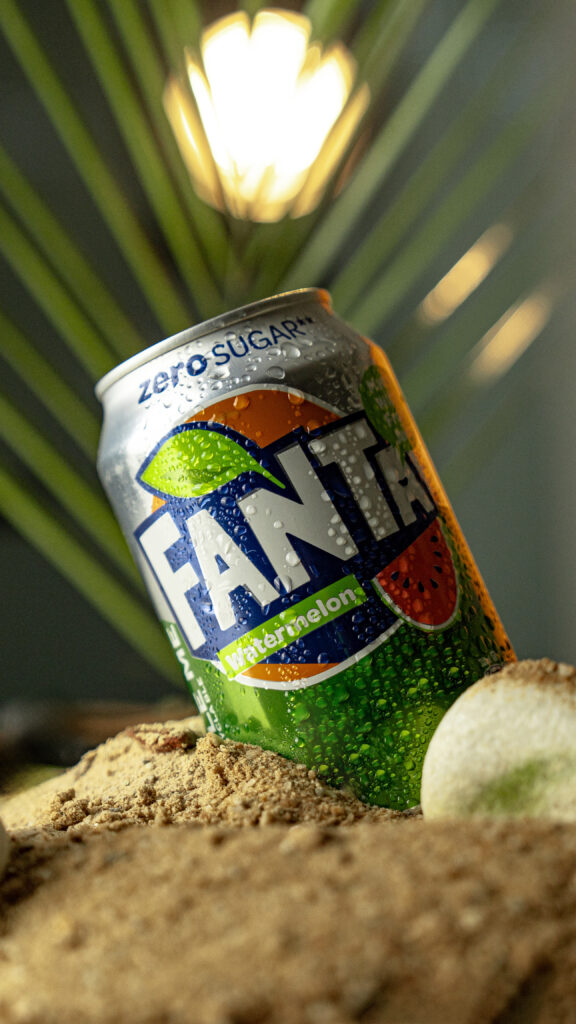
The beauty of beverages lies in their details—ice cubes glistening with condensation, bubbles rising in a carbonated drink, or the layers of different liquids in a cocktail. Make sure to capture these small but impactful elements that tell the story of the drink.
For instance, when photographing a cocktail with ice, focus on the way the light hits the ice cubes, creating reflections and highlights. If you’re photographing a latte, focus on the intricate latte art, ensuring the design is crisp and clear.
Pro Tip: Use a macro lens or a close-up shot to capture the texture of ice, bubbles, or fine details like garnishes.
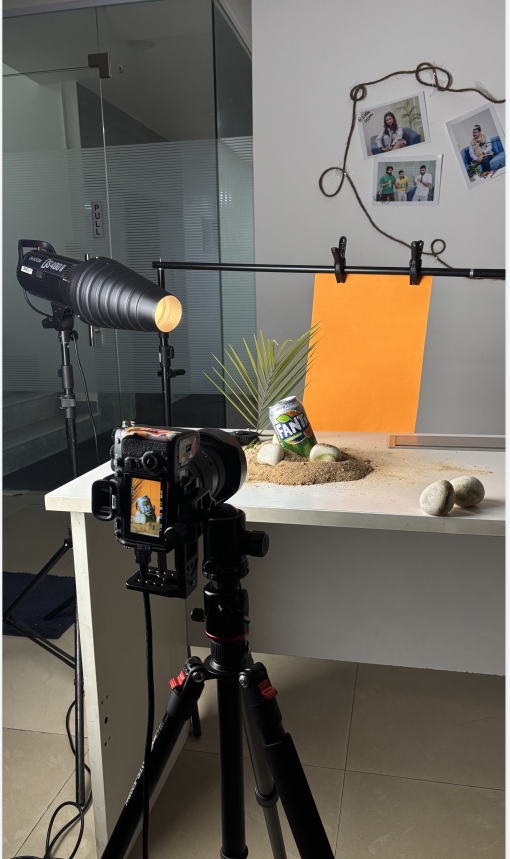
3. Choose the Right Background
A clean, simple background is often best when it comes to beverage photography. The goal is for the beverage to be the star of the shot, not the background. A cluttered or busy background can distract the viewer from the drink. You can go for neutral-colored surfaces like wood or marble, or even a plain backdrop that complements the colors of the drink.
Alternatively, you can use a background that evokes a certain vibe—like a cozy cafe setting or a tropical beach, depending on the type of drink. For example, a refreshing iced tea shot might look great against a rustic wooden table, while a tropical cocktail could be shot with a palm tree backdrop.
Pro Tip: Experiment with textured backgrounds like fabric, paper, or even ice to add depth without distracting from the main subject.
4. Play with Composition
Composition is key to making your beverage photography stand out. The rule of thirds is a common technique to help with composition. Imagine dividing your image into a 3×3 grid and place the drink slightly off-center, allowing space around it to give the image balance and symmetry
(Try these tips to master the best beverage photography compositions)
You can also try creative angles, such as shooting from above for a flat-lay style, or from eye-level for a more intimate feel. For dynamic shots, try a tilted angle that shows both the drink and the setting, such as a cocktail resting on a bar countertop with a blurred background.
Pro Tip: Shoot multiple angles and experiment with different compositions to see which one brings out the beverage best.
5. Use Props to Enhance the Scene
Props can bring an extra layer of storytelling to your beverage photography. Think about adding garnishes, ingredients, or even a well-matched glass or cup to help emphasize the drink’s flavor profile and personality. For example, a citrus cocktail may look vibrant with a slice of lemon or lime on the rim of the glass, while a tea shot may be enhanced with a small tea pot and delicate cup.
However, don’t overdo it. The props should complement the beverage, not steal the spotlight. Keep the focus on the drink itself, but add small elements that enhance the vibe or atmosphere.
Pro Tip: Use natural props, like fresh fruits, herbs, or spices, to complement the colors and ingredients of your drink.
6. Make Sure the Glassware is Spotless
Clean glassware is essential for showcasing the drink in its best light. Fingerprints, smudges, or water spots can distract from the beauty of your beverage. Ensure the glass is crystal-clear, shiny, and free of any imperfections. A quick wipe with a microfiber cloth before shooting will help prevent distracting marks.
Additionally, you can use a glass with interesting shapes or textures. A wide-rimmed glass can enhance the feeling of luxury, while a mason jar might give a rustic, casual vibe.
Pro Tip: Spray the inside of the glass lightly with water to create the effect of condensation and make it look refreshing.
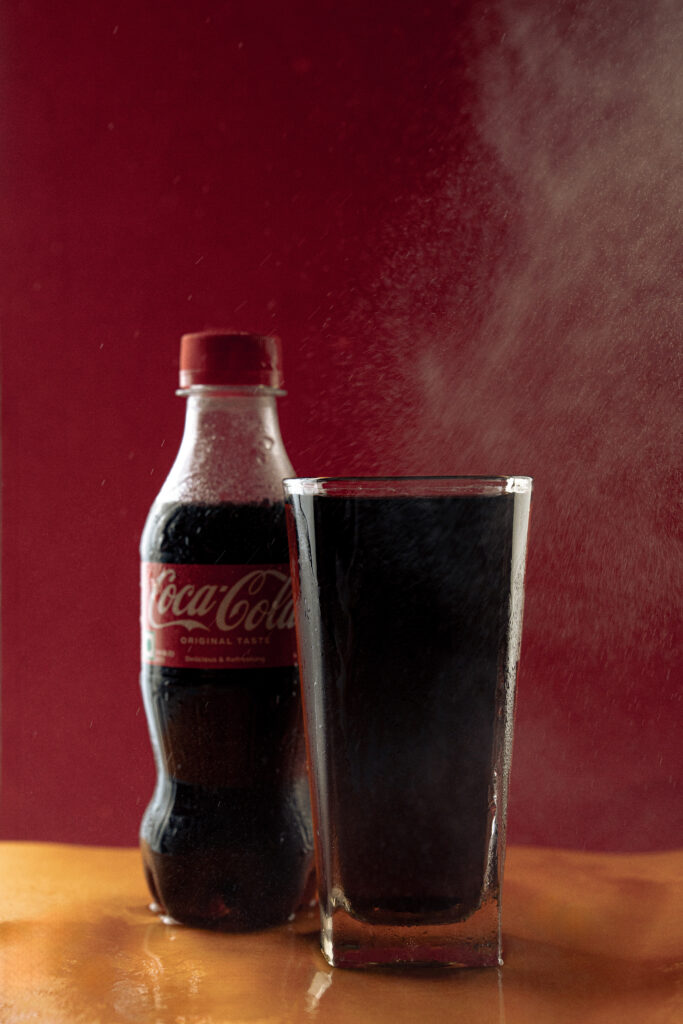
7. Experiment with Color Palettes
Colors are one of the most important elements in beverage photography. The color of the drink should be highlighted to showcase its appeal. Vibrant colors, such as the rich reds and greens of a berry smoothie, or the deep golden hue of whiskey, can make the photo pop.
Consider the color palette of your shot when choosing props and backgrounds. The right palette can set the tone for the image. For example, a warm, golden cocktail can look great against a soft, neutral background, while a bright, citrusy drink can shine against a vibrant background.
Pro Tip: Color contrast can draw attention to the beverage. If you have a colorful drink, use complementary or contrasting background colors to make the beverage stand out.
8. Master the Art of Ice
Ice plays a big role in many beverage shots, particularly for cold drinks like cocktails, sodas, and iced coffees. The way ice interacts with light can add a lot of texture to your shot. Make sure to use large ice cubes or spheres as they are more photogenic than smaller, irregular cubes.
Avoid overfilling the glass with ice, as this can make it look messy and unappealing. Instead, focus on the way the ice is arranged and how it interacts with the beverage.
Pro Tip: If you’re shooting a drink with ice, make sure the ice is clear and not cloudy, as cloudy ice can look less appealing in photos.
9. Highlight the Bubbles
For sparkling beverages, like champagne, soda, or sparkling water, bubbles are a key feature to capture. The movement of bubbles rising through the drink adds energy and life to the photo.
To emphasize the bubbles, shoot the drink while it is freshly poured, and try to capture the movement of the bubbles. A high-speed shutter can help freeze the bubbles in motion, creating a dynamic, lively shot.
Pro Tip: Light from the side can accentuate the bubbles, making them appear more vibrant and giving the drink a more dynamic feel.
10. Edit with Subtlety
Editing is the final step to elevate your beverage photography. While it’s tempting to enhance colors or sharpen details, subtlety is key. You want to preserve the natural beauty of the drink without overprocessing the image. Adjust the exposure, contrast, and saturation to enhance the colors, but avoid making the image look unnatural.
Additionally, correct the white balance to ensure the drink looks true to life. If you want to add extra depth to the image, use vignette effects around the edges of the shot to keep the focus on the beverage.
Pro Tip: Use editing apps like Lightroom or Snapseed to fine-tune details, correct colors, and add a professional touch.
Conclusion
Beverage photography is a wonderful blend of creativity and technique. By applying the right lighting, composition, and props, you can elevate your photos and capture the beauty and essence of your drink in a way that appeals to the viewer. Whether you’re taking product shots for your brand or simply sharing your favorite drinks on social media, these tips will help you create stunning, mouth-watering images that stand out. So grab your camera, start experimenting, and watch your beverage photography reach new heights.
If you’re looking to take your beverage photography (or any type of photography) to the next level,
The Yellow Chip Studio offers a dynamic and creative space perfect for all your photography needs. Located in Noida Sector 62, just a few minutes from the metro, the studio is equipped with professional lighting setups and versatile backdrops, ensuring that your shots have the right atmosphere. Whether you’re shooting for e-commerce, personal projects, or brand campaigns, The Yellow Chip Studio provides an ideal environment to bring your vision to life. So, why not book a session and let your creativity flow?